
Did you know that you can use any resource in Google Classroom for distance learning?
Do you have a ton of PDF resources on your computer that you think you can’t use for distance learning because they’re not “digital”? Surprise! You can use them. And I’m going to teach you how!
How to Use ANY Resource in Google Classroom
You might be wondering what I mean when I say “any resource.” I’m referring to all those PDF downloads that you have saved on your computer or have previously purchased on TpT.

I know so many of my teacher friends thought they couldn’t use them for distance learning. Wrong!
There is a way to use these PDF’s digitally! I’m going to show you how!
DISCLAIMER: While many TpT authors do not mind if you do this, I cannot speak to every TpT author’s terms of use. You absolutely have my permission to do this with any of my resources. However, you should always check with the teacher author before doing this. Also, make sure you only use these resources for your own class/students.
Important Thoughts about Converting a Resource for Google Classroom
Before you choose which resource you want to use in Google Classroom, let’s consider the purpose and main function of the resource.
If a resource’s main purpose to practice handwriting, converting it for digital use in Google Classroom is most likely not going to work out. A student won’t be able to “trace” the letters.
If the main function of a resource is cut-and-paste, or even fine motor practice, converting it for digital use in Google Classroom isn’t the answer. The students won’t be able to cut and paste pieces of the page digitally.
However, if the main purpose is to read, think, do math, write (creatively, not the physical act of writing), etc., you can easily make it digital for Google Classroom!
What is Google Classroom?
Google Classroom is an amazing and free way to communicate with your students while sharing and collecting assignments. It’s FREE. You can learn more about it by clicking here.
If you don’t use Google Classroom, but you have a Google account for Gmail and/or Google Drive, this tutorial will still work for you!
Steps for Converting any PDF Resource for Google Classroom
Below, I am giving you easy step-by-step directions. I recommend trying it with one page the first time just to familiarize yourself with process. After you’ve got that down, you can do multiple pages at once.
It took me 8 minutes to convert one page of a PDF to an interactive Google Slide while narrating the entire process for you. I would conservatively guess that it would take me 4 minutes to do this if I wasn’t creating a tutorial. Plus, if I do multiple pages at once while utilizing copy+paste, it would be WAY less than 4 minutes per page.
I think you’ll be shocked at how easy it is, and how the possibilities for using resources that you already have are endless.
It might seem there are many steps, but that’s just because I break EVERYTHING down for you. It really won’t take that long, I promise! Plus, it’s worth it if it means that you and your students can access and use a resource they know and love, right?
If you prefer to watch a video instead of read the steps, I have a video tutorial towards the bottom of the post. =)
Step 1: Find/Open the PDF of the Resource
Locate the PDF in your files and open it in a PDF reader.
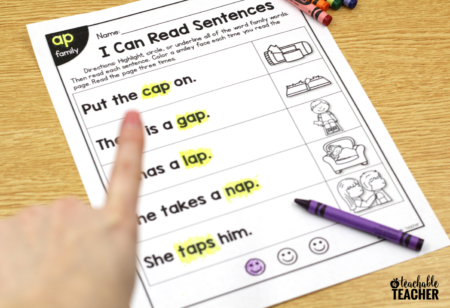
For this example, I’m going to use My First Phonics Passages. Remember, you can use any resource that you and your students already know and love. (YAY for familiarity!)
Step 2: Take a Screenshot
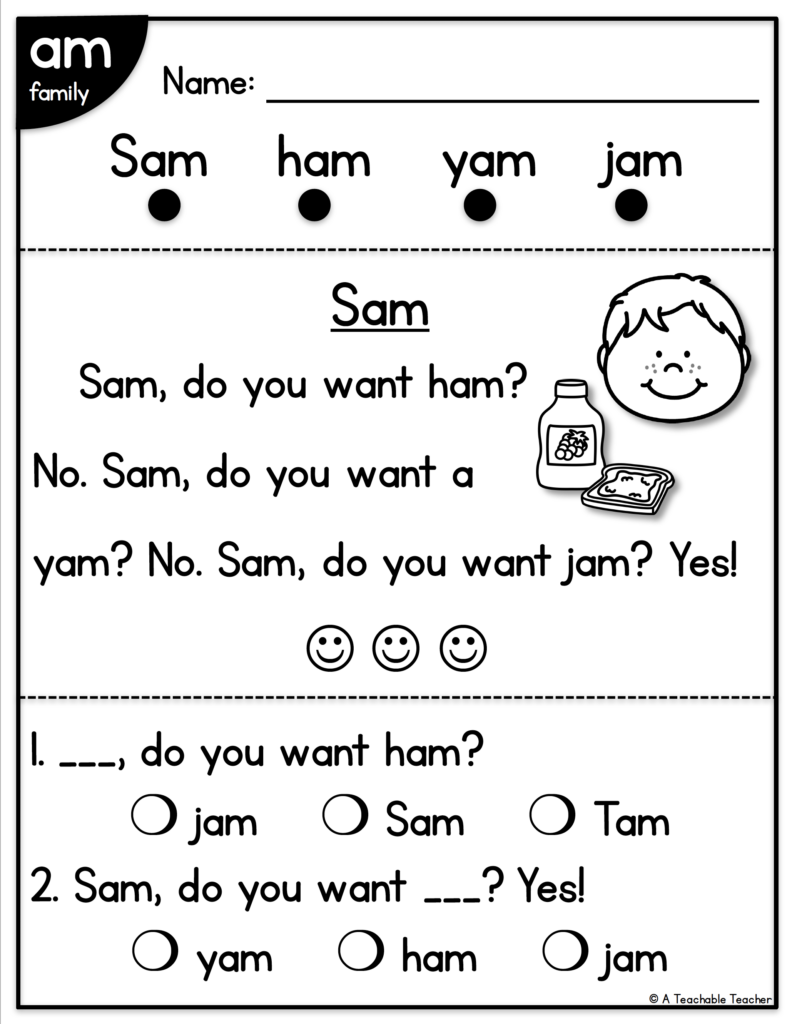
Make sure that the page fills your screen. In other words, you want to be able to see the page in its entirety.
Don’t zoom out all the way, though. The bigger the page, the crisper the image will be.
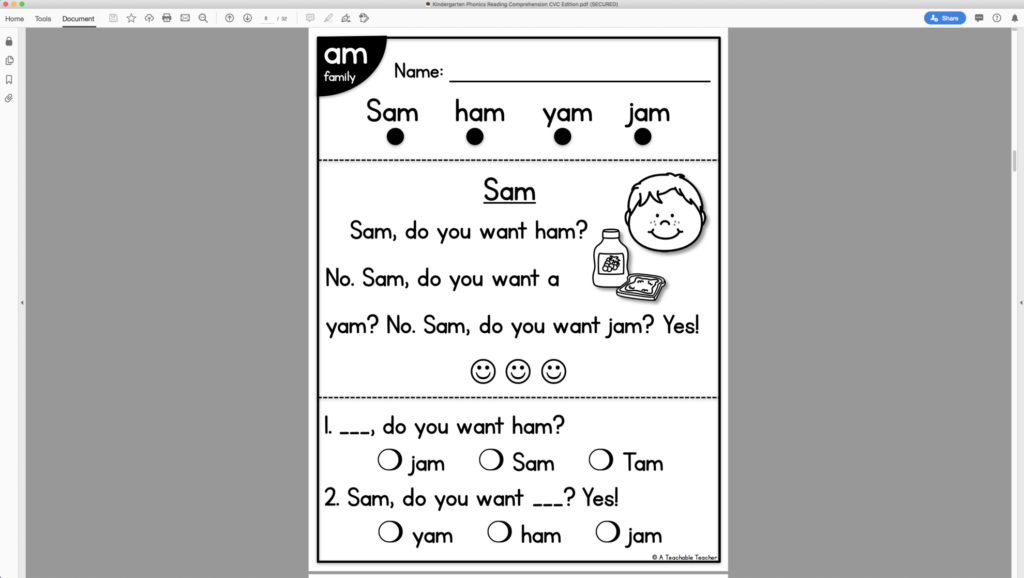
The goal here is to get an image of the page that you would like to use.
Some screenshots will create an image of your entire screen. If that happens, crop it to only include the resource page.
Taking a screenshot on a Mac
I use COMMAND + SHIFT + 4. This allows me to take a screenshot of a specific area.
I drag my new + cursor (that appears after pressing those keys) from the top left of the page to the bottom right of the page. The screenshot is automatically saved to my desktop.
Taking a screenshot on a PC
On a PC, you’re going to press the WINDOWS key + S to “search.” Then type “snipping tool” and it should pop right up!
I don’t have a PC, but my bestie does! Click HERE to watch a video my friend Tara created on how to use the Snipping Tool.
Step 3: Open Google Slides
Make sure you have an Internet connect and are signed into Google.
We are going to be using Google Slides, which you can think of as the Google version of “PowerPoint.”
💡Tip: If you’re using Google Classroom, make sure you’re logged into the same Google drive account when creating the slides.
Go to Google Drive by accessing drive.google.com
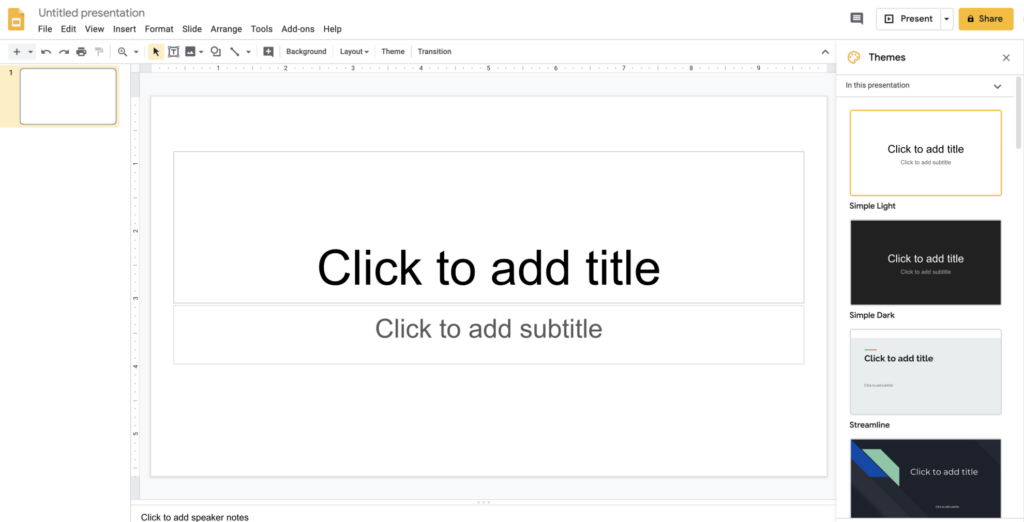
At the top left, choose New >> Google Slides.
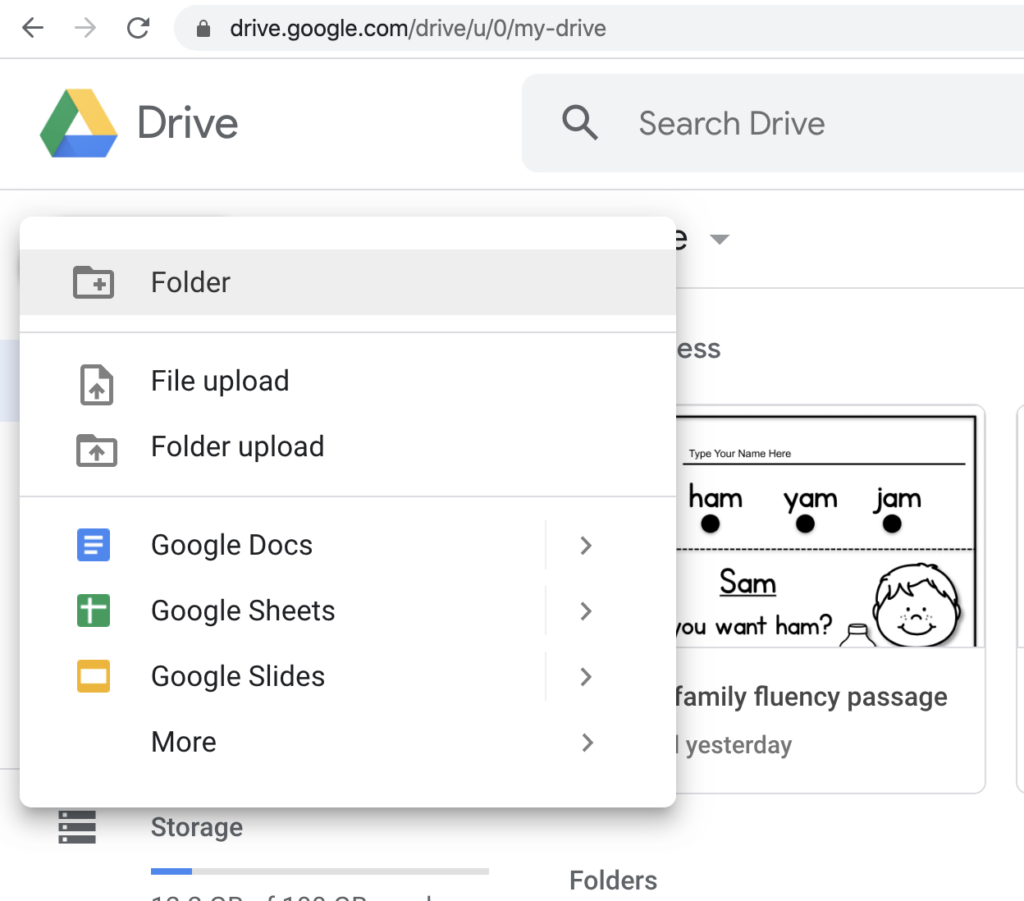
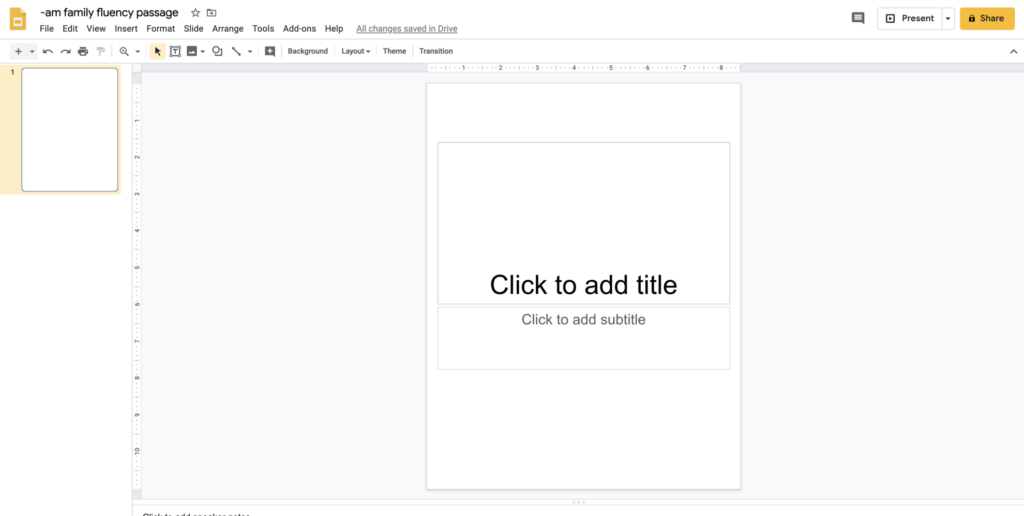
You should now see a blank Google Slide.
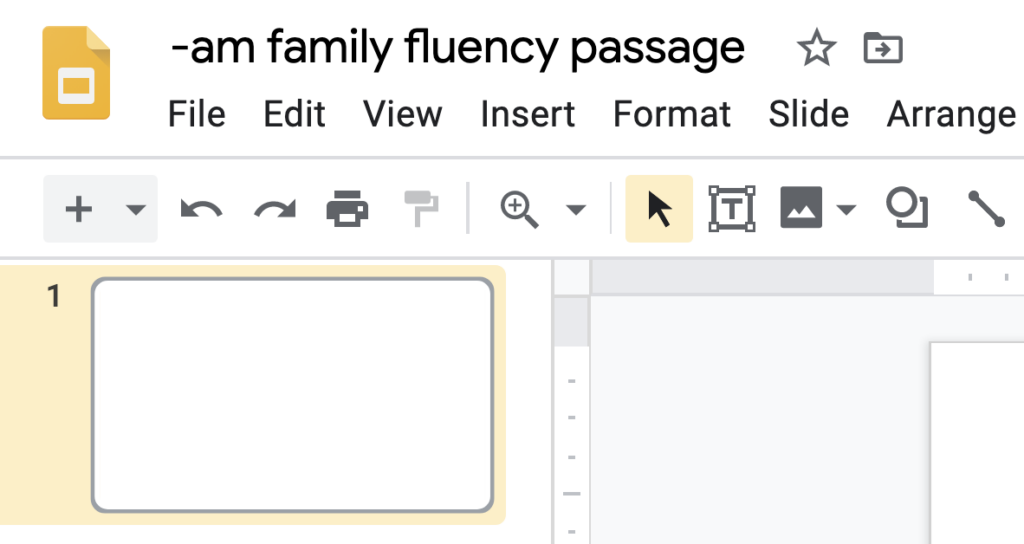
Step 4: Name the File
This one is quick and easy. Click on “Untitled Presentation” at the top to name the file something you will remember.
💡Tip: Many teachers like adding “master” to the end of the file name. That way if you want to tweak the file later (typically by adding or removing slides), you can make sure you’re not tweaking your “master copy.”
Since Google slides automatically saves as you work, you don’t need to keep “saving” what you’re doing. Yay!
Step 5: Change the Page Setup
When a new slide opens, it is setup as a widescreen presentation, which is not the size of your PDF’s.
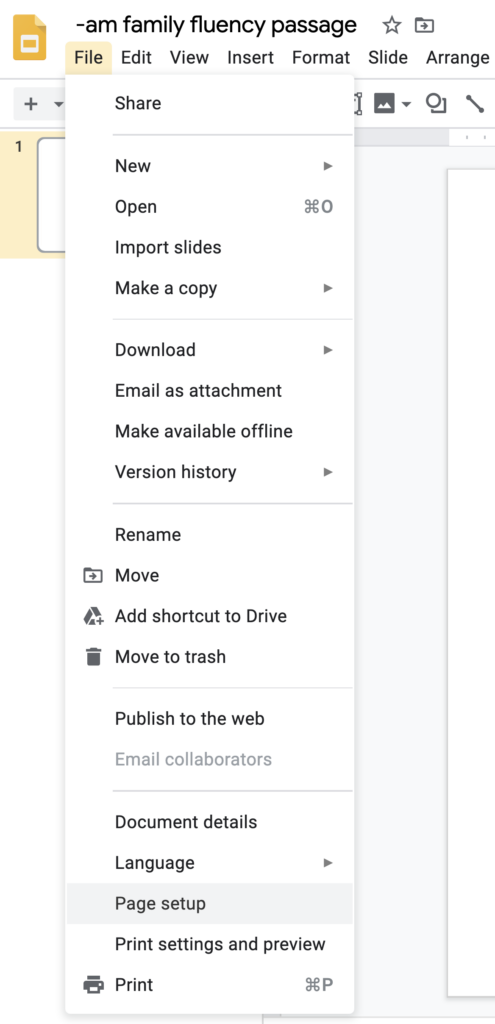
Go to File >> Page Setup >> Custom.
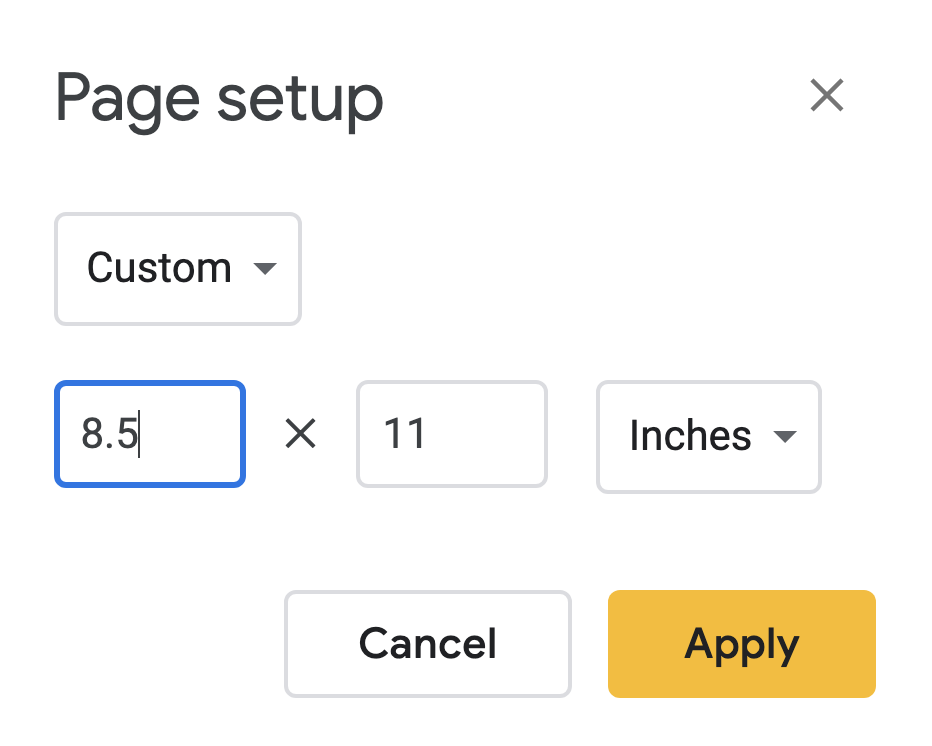
Then, you’ll change the page size accordingly:
- Portrait page: 8.5×11
- Landscape page: 11×8.5
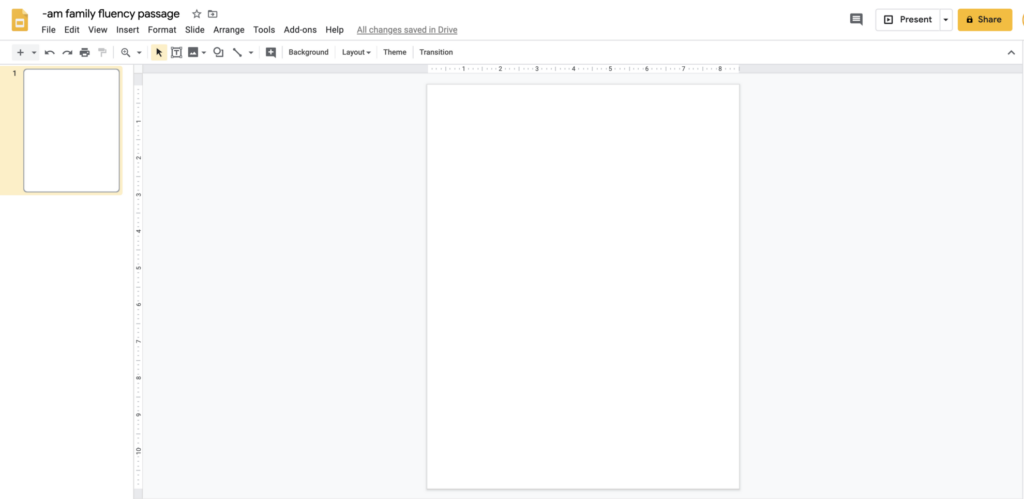
Ahh, that’s better!
Step 6: Delete the Text Boxes
There are two standard text boxes on the slide. Select them and hit “delete” on your keyboard. We will add our own later.
Step 7: Insert Your Image (Screenshot) as a Background
On the toolbar above your slide will be a “background” button.
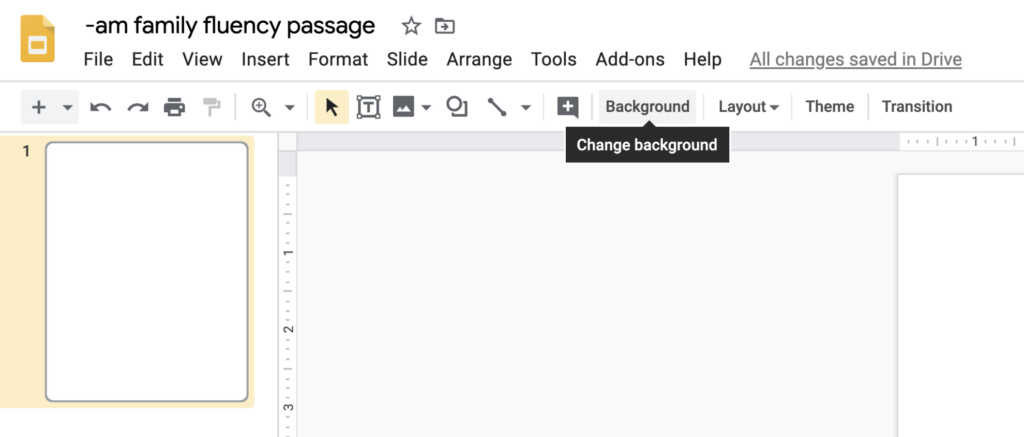
Choose Background >> Image >> select the screenshot we took earlier.
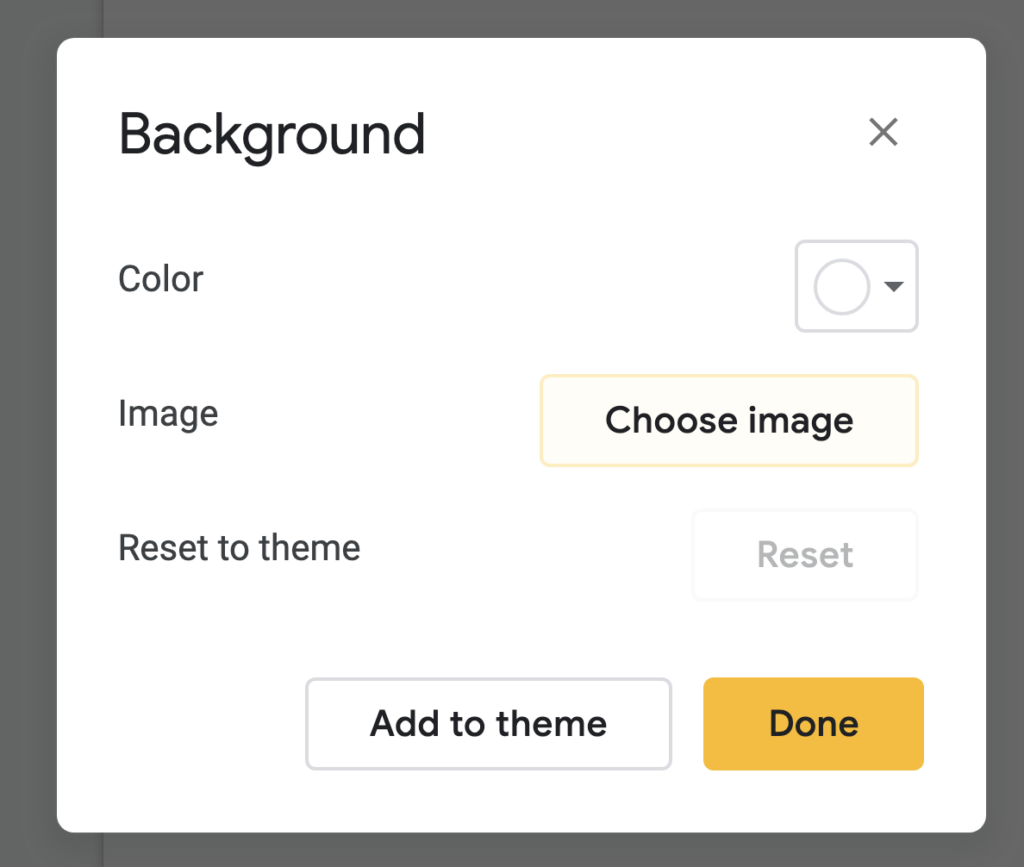
After it’s done loading, choose “done.”
It might take a minute to load, but when it’s done the slide will look like the page you took a screenshot of. Yay!

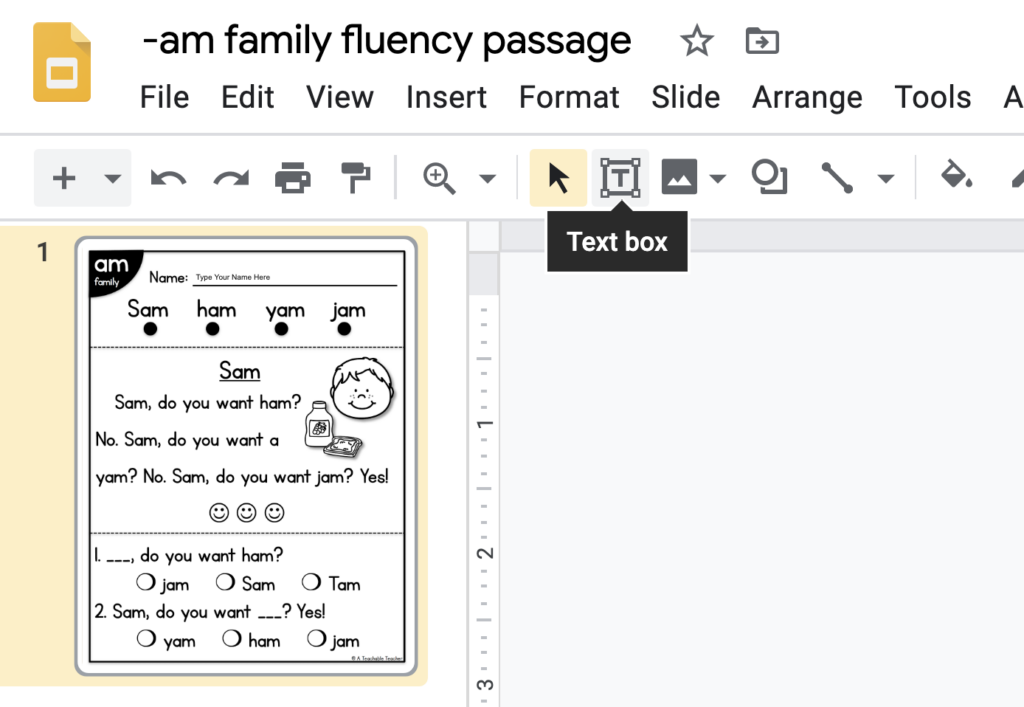
Step 7: Add Text Boxes
Since the image of the page is in the background, nothing can be added, deleted, or interacted with.
That’s good because a) clipart artists require that we keep their images locked, and b) your students could accidentally mess up the page before they get the chance to work on it.
This is where we are going to create the interactive elements for them.
We will start with a text box for their name.
Go to “text box” in the tool bar. Click to drag and create a text box.
Change the formatting if you wish. I like to move the text to go to the bottom of the box so I can “line it up” with the line for their name. #personalpreference
You can also change the font size, but I like to keep it small so that their whole name fits without them needing to adjust anything.
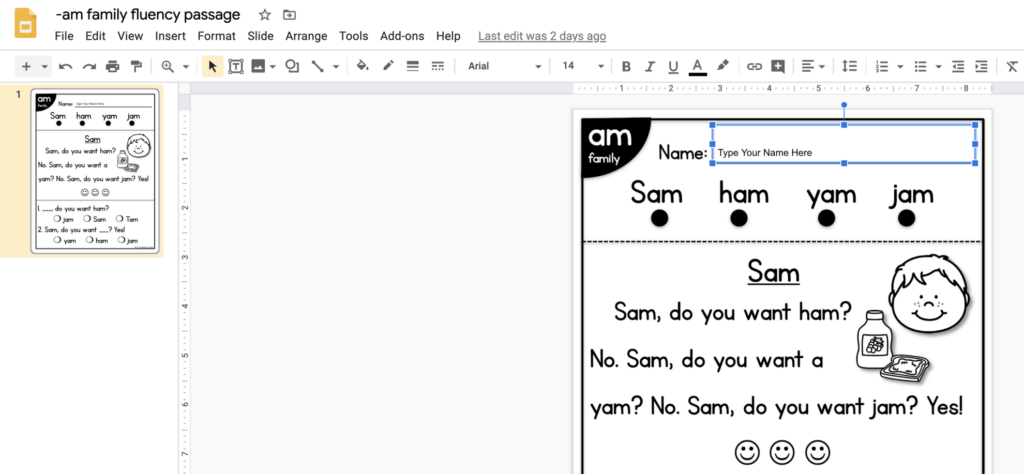
Finally, you can type something to let students know that the box is there. For example, I typed, “Type your name here.”
Step 8: Add Interactive Elements
This varies based on the resource.
💡Tip: Ask yourself: What else will students need to interact with the page and complete the assignment?
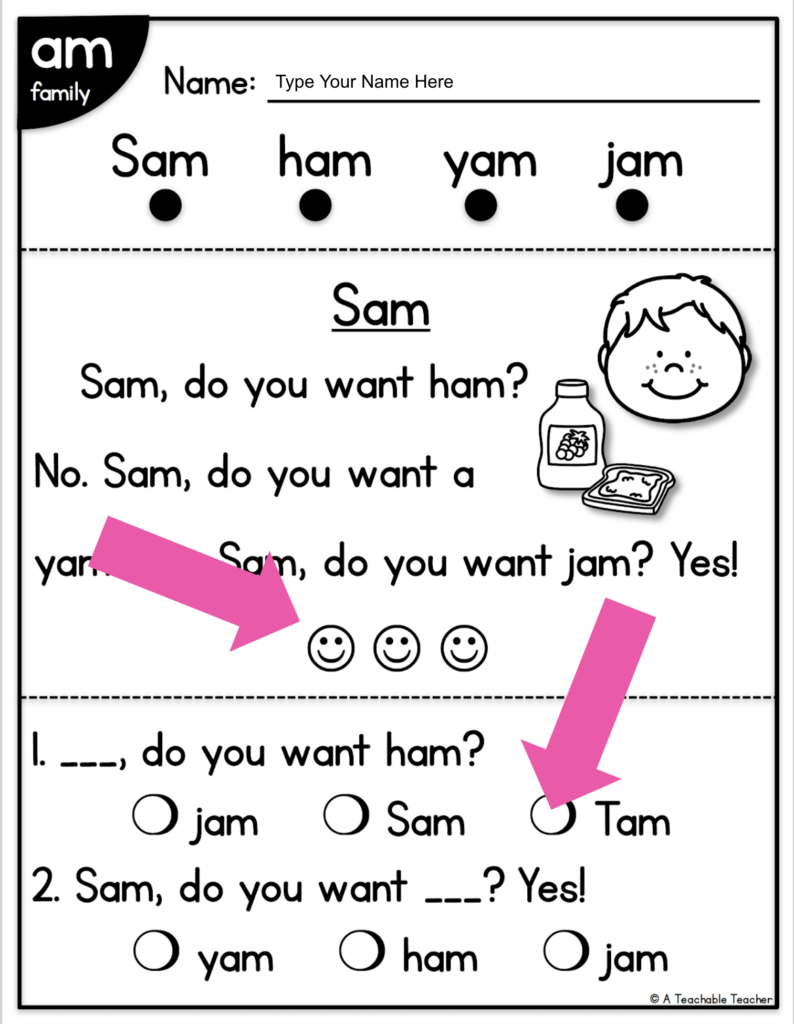
In this specific example, students need a way to color the smiley faces each time they read the passage and a way to mark to their answers.
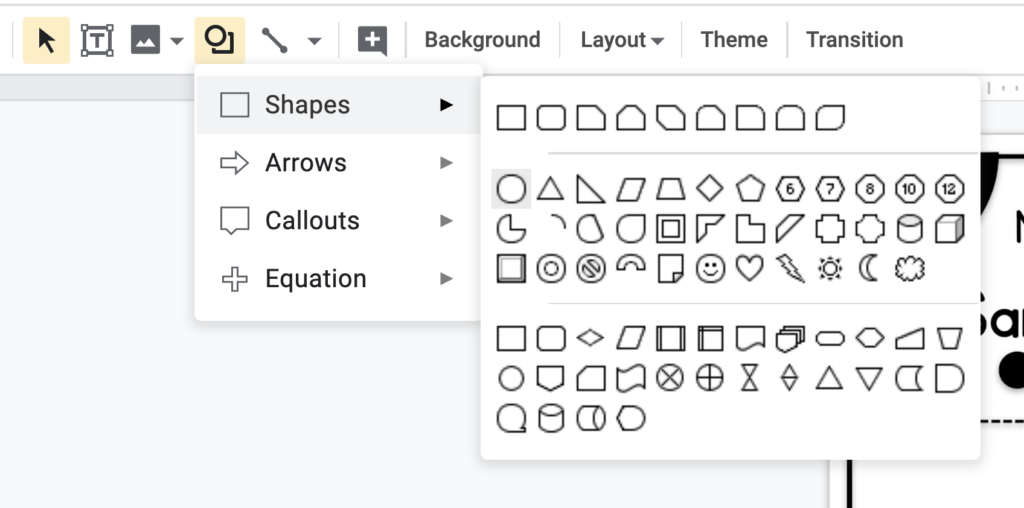
I am going to insert some shapes to make this interactive.
It’s quick, easy, and already in the Google Slides toolbar!
Just click on the shapes button and choose your shape! I am choosing a circle because I want them to “stamp” or “cover” the smiley face since they are unable to “color” it.
With the shape selected, I clicked on the “bucket” to change the color. This is all personal preference!
I made sure there were 3 circles so that they can stamp/cover all 3 smiley faces. (This tells me that they read the passage three times to increase fluency.)
Once you make one circle and change it to look the way that you want, just COPY + PASTE to make the others. #easypeasy
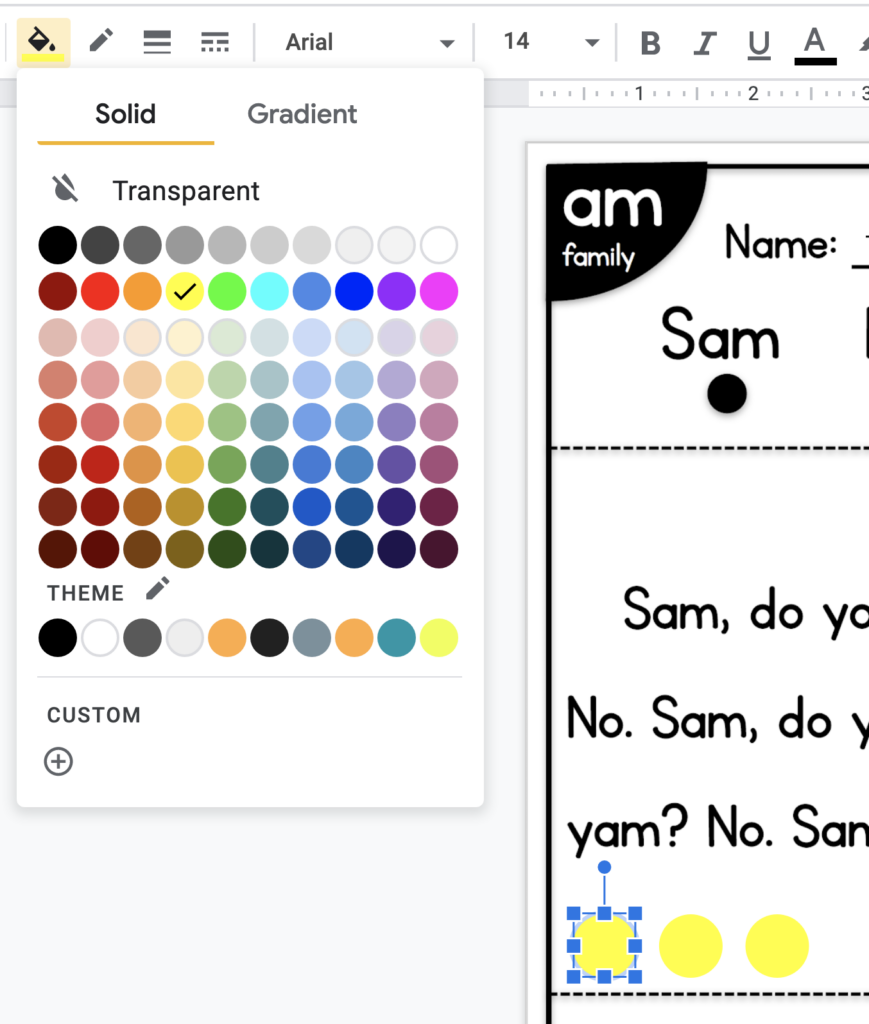
Now for the “answering bubbles.” Once again, they can’t color it. I’m just going to make another circle “stamp” that they can use to fill in their answer.
The easiest way – copy and paste the yellow circle and then change the color (back to the bucket)!
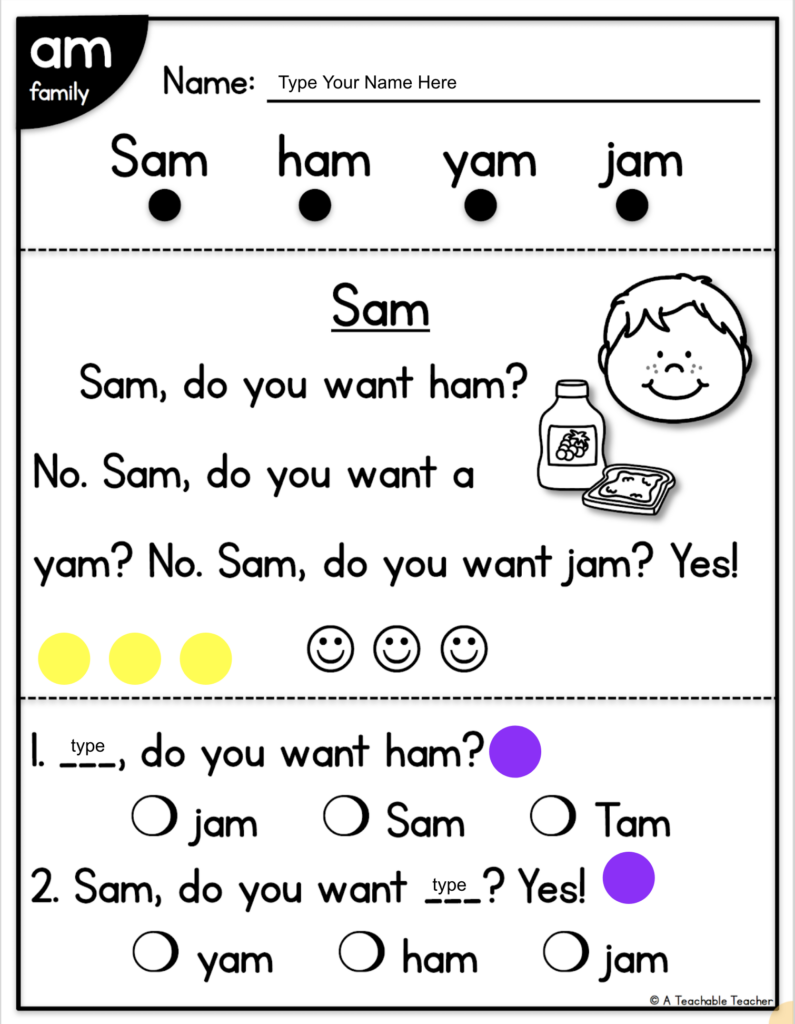
I also copied + pasted the name text box and put it in the blank in the sentences on the lines (see above). Now students can type the answer, too!
Interacting with the Resource in Google Classroom
As you can see, how they interact with the page is really up to you. You can be super creative, or keep it super simple. I honestly think the simpler, the better!
Thankfully, these 21st century learners are pretty tech-savvy and will likely intuitively “know” how to interact with the page. (This is especially true if it’s a resource they are familiar with from hard copies at school.)
However, you’ll be giving students directions on how to interact with the page in Google Classroom. Speaking of Google Classroom…
Sharing Your Resource in Google Classroom
Go to classroom.google.com to access your Google Classroom.
Choose the classwork tab at the top.

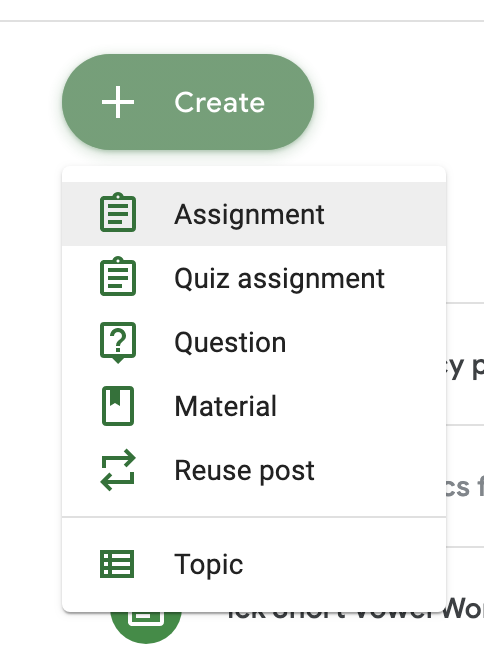
The choose create >> assignment.
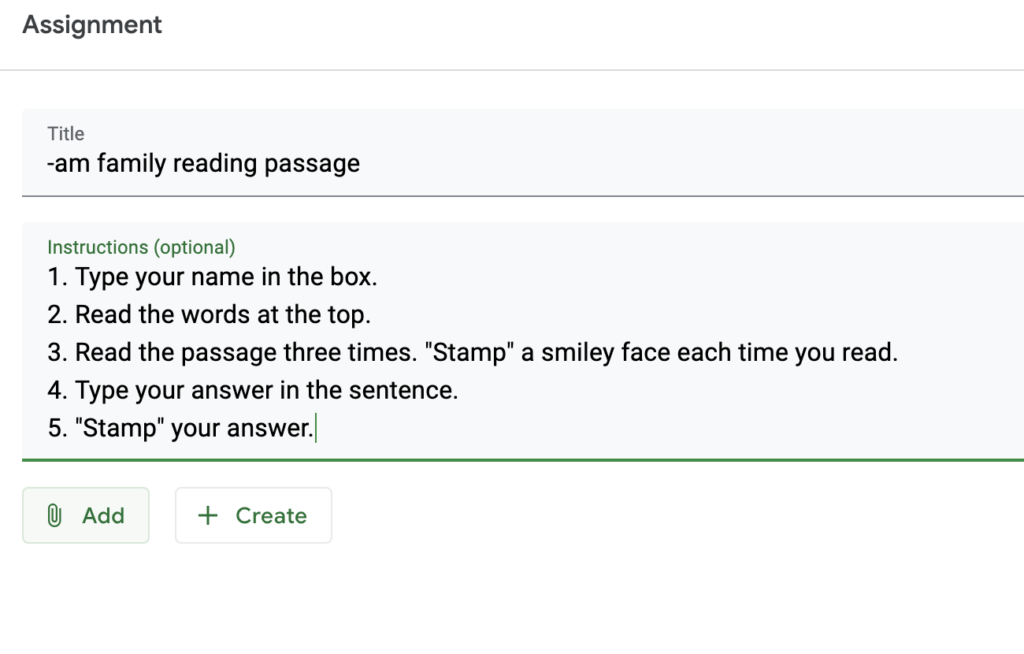
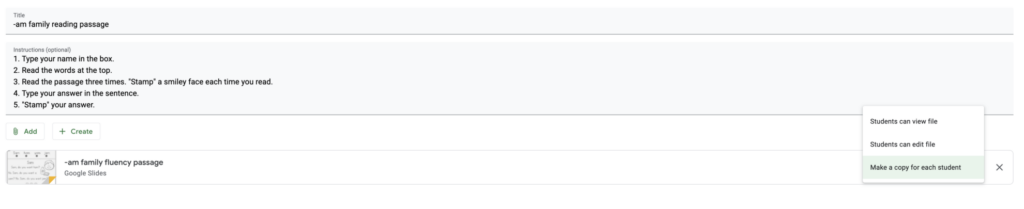
You can give the assignment any title and instructions that you wish, based on your students needs.
Since the instructions are a little different compared to using this resource with pencil and paper, you want might to instruct them on their new interactive directions. (This is what I talked about above in Step 8).
You can read the screenshot below to see what instructions I included for the reading passage.
Then click the “add” button. (There is a paperclip in front of the word.)
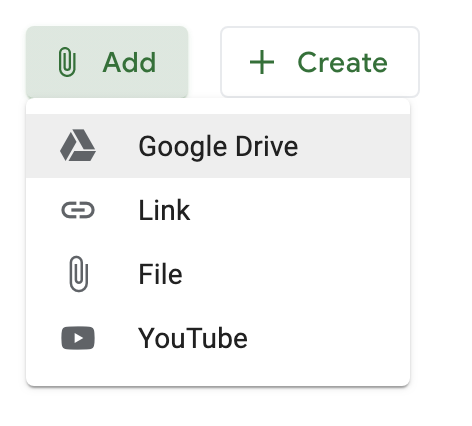
Choose Google Drive >> File name (whatever you named it in step 4) . If you JUST finished creating the interactive Google slide, it should be at the top under “recent.”
The next step is VITAL.
You’ll see a thumbnail of the slides below your instructions. To the very right it will say “Students can view file” with an arrow pointing down. Click the arrow so that you can change the settings. You want to choose “make a copy for each student.”
Important: In order for each student to be able to “interact” with their own version of the resource, you MUST select “make a copy for each student.”
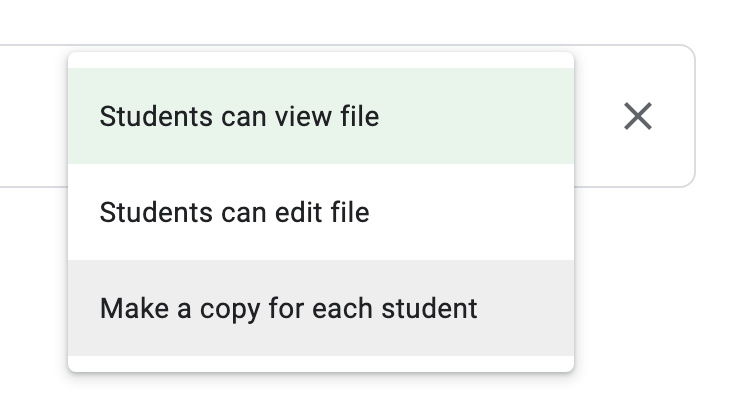
If you choose “students can view file” they will not be able to “edit” it, AKA, interact with the file or mark answers.
If you choose “students can edit file” they will all be editing the same (YOUR!!) file. That means when Tara logs on at 8:00am to work, she will read, stamp, type, answer questions and submit her work. Then when Lauren logs on at 8:30am, everything will already be done for her. Whoops!
Please make sure to choose “make a copy for each student” so each student has their own assignment to edit.
Finally, chose “Assign!” at the top right. You’ll confirm by clicking “assign” again on the pop-up.
Your work is done! Students can now use a resource they know and love…digitally!
Video Tutorial: How to Use Any Resource in Google Classroom
Are you more of the watch-and-learn type? Good news!
I filmed my screen while following the directions above so that you could have a tutorial!
Just a warning, my husband comes and knocks on my window to ask me to come outside, so don’t get scared if you hear a knock during the video. #quaratinelife
In his defense, he didn’t know I was filming at the time. 🤣
I hope this gives you the ability to use the resources that you and your students already know and love while distance learning! Like I said above, once you get the hang of it, the possibilities are nearly endless.
Are there any other tutorials that you would like to see to help you with distance learning? Let me know in the comments below!
Resources READY for use in Google Classroom™️
Remember if you own any of these resources, I’ve already reformatted them for you! All that you need to do is download them again where you purchased them (here or TpT).
click HERE for TpT resources that already include digital versions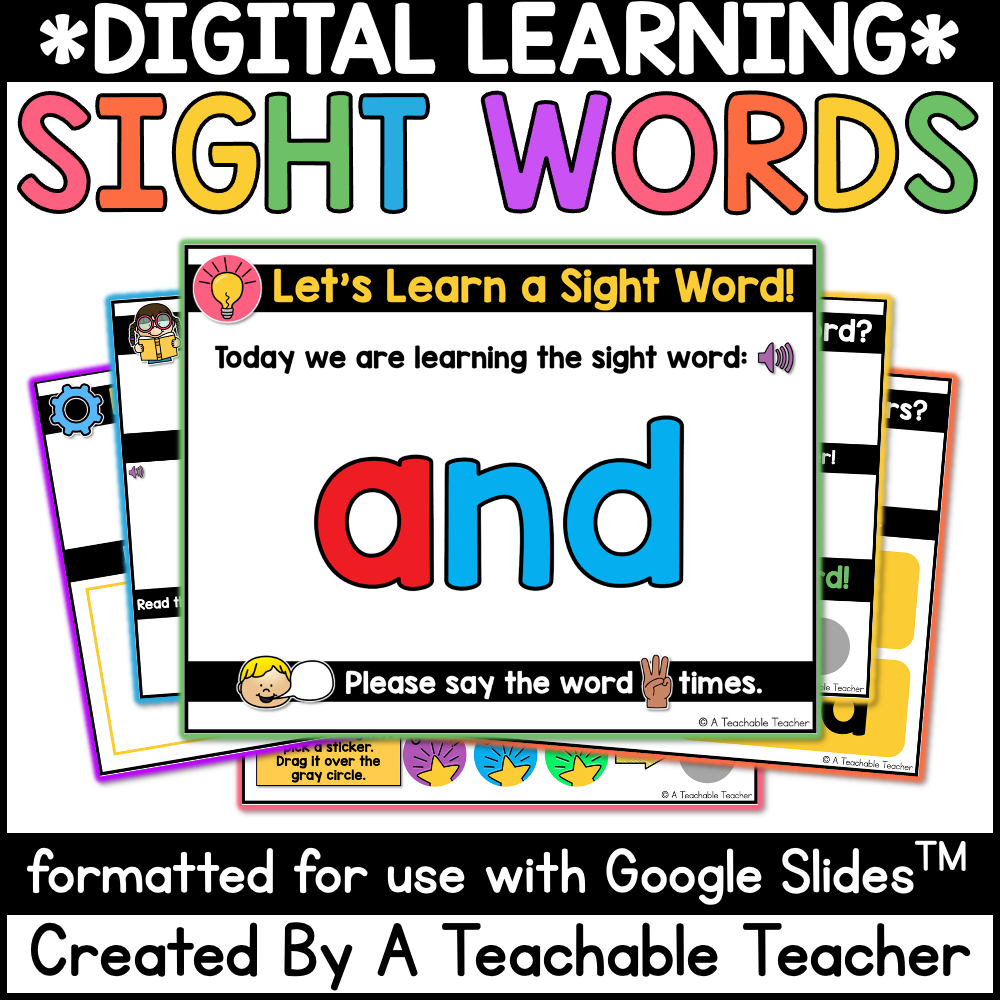

Great tutorial! Thank you.
You are welcome, Heidi! I’m so glad that it was helpful to you!
OMG! Thank you so much for the step by step directions! You just made my day.
Hi Mary,
Yay! I’m so happy that I was able to help. Thanks for your kind words!
Hi- this was great, thank you. If I am doing a reading passage, I like the kids to underline the phonics pattern, how would you put this on the google doc?
Hi Jennifer,
You can insert “lines” (next to the shape button on the toolbar), but I recommend making a rectangle shape, turning it yellow, and making it “transparent.” You do this by clicking the bucket button > custom > slide the transparency toggle. Then they can drag the rectangle over the word to “highlight” it. That would be the easiest way to have them find all of the skill words in a passage in Google Slides. I hope that helps!
You are a life saver. It was driving me crazy that I couldn’t get my pdf’s to work in Google Classroom. Thanks so much for what you do.
I’m so happy to help! Thank you for your kind words, Wendy!
Thank you for sharing again! I learned some of this last weekend, but didn’t know about the interactive part! Very helpful! 🙂
Yay! You’re welcome Rebecca! I’m happy to help. Thank you for your kind words.
Thanks so much for this tutorial, I have been watching some videos this weekend to start using google slides more. This was very helpful.
I do have one question. Do you know if there is a way to lock the interactive images from being adjusted? (e.g. the yellow circles your students would move to stamp the correct answer.) I know if you go to click and drag them, it can sometimes be temperamental and it might instead stretch the item in size, rather than move the item. Therefore, I was wondering if you could somehow lock the image from being edited and just have it available to move.
Thanks,
Megan
Hey Megan,
Unfortunately, the only way I know how to lock an image is to put it in the background. In this case, we are using shapes want them to be moveable. I know selecting the shape from the center, rather than the corner, helps it to not engage in changing sizes. I hope that helps!
I think I’m missing something… I’m working from a chromebook. When I take a screenshot it does not show up as an image it stays in the downloads file. I can not figure out how to get any screenshot saved as an I may….am I missing something here?
Hey Natalie, I don’t personally use a chromebook, so maybe google “how to take screenshots on a chromebook,” but if it stays in the downloads file, you can still upload it from there! Instead of being on your desktop, it would be in downloads. I hope that helps!
Hello Natalie,
Do you know if it is possible to use PDF resources in Microsoft teams?
Hi there!
Unfortunately, I am not very familiar with Microsoft Teams.
Thank you so much! This video tutorial was so helpful and makes it look so easy!
I can’t thank you enough for this tutorial! Can’t wait to try it out.